

Este guia lista todos os golpes e movimentos especiais de Real Bout Fatal Fury 2 dividido por personagens.

Golpes e Movimentos especiais de Real Bout Fatal Fury 2
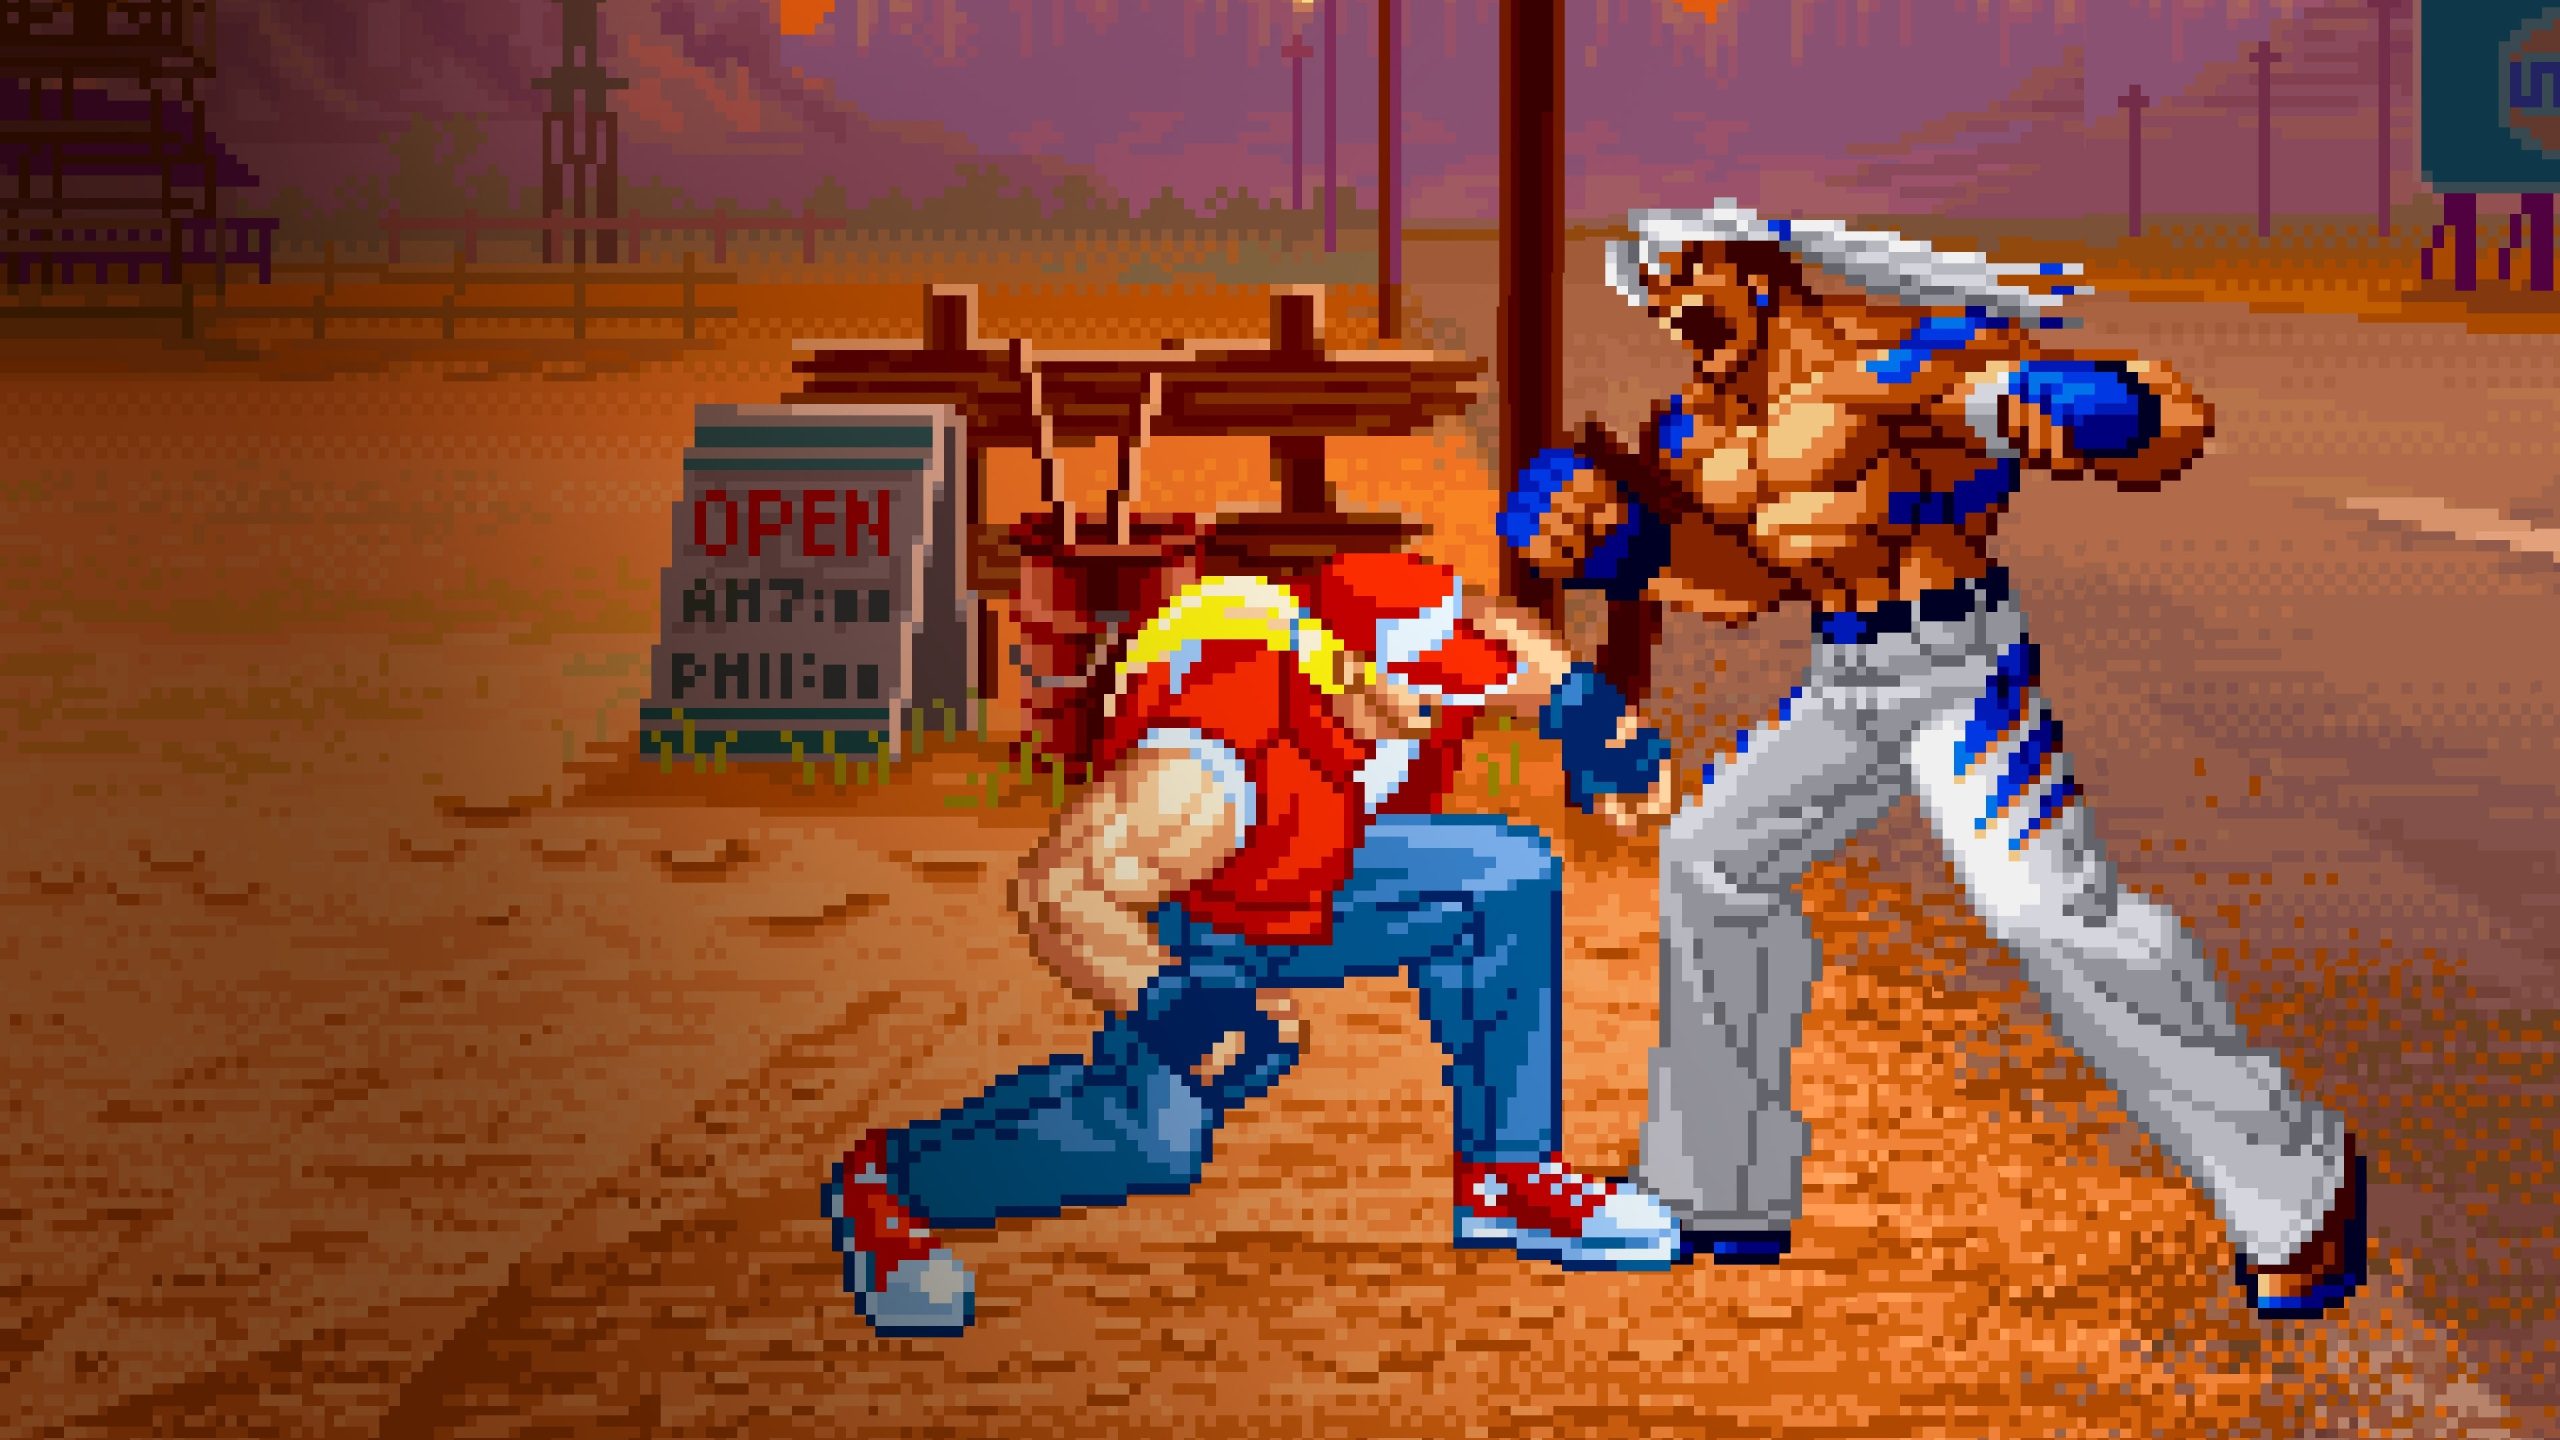
Andy Bogard
-
Special Combo – ↘ + A, C, C
-
Flip Kick – → + B, ↗ + C
-
Zanei Ken – ↙ → + A ou C
-
Shippu Uraken – ↙ → + C (após Zanei Ken com C)
-
Zanei Ken Fake – → + A+C
-
Ku-ha-dan – ↙ ↓ ↘ + B
-
Sho-ryu-dan – → ↓ ↘ + C
-
Hi Sho Ken – ↓ ↙ ← + A
-
Hi Sho Ken Fake – ↓ + A+C
-
Geki Hi Sho Ken – ↓ ↙ ← + C
-
Genei Shiranui – (no ar) ↓ ↙ ← + D
-
Cho-reppa Dan (S.Power) – ↓ ↙ ← ↙ → + B+C
-
Cho-reppa Dan Fake – ↓ + B+C
-
Dan da Dan (P.Power) – ↓ ↙ ← ↙ → + C, depois pressionar C repetidamente
Billy Kane
-
Special Combo – ↓ + C (1º acerto), C, ↓ ↘ → + C
-
Pole Lift and Throttle – (próximo) ↘ + C
-
San Setsu Kon – ← (segurar), → + A
-
Flame San Setsu Kon – ← → + C (após San Setsu Kon)
-
Whirlwind Wail – A (repetidamente)
-
Dragon Flame – ↓ ↙ ← + B
-
Sparrow Hunt – ↓ ↙ ← + A
-
Power Hi Sho Bonk – ↙ ↓ ↘ + B
-
Power Hi Sho Bonk Fake – ← + A+C
-
Super Fire Wheel (S.Power) – → ← ↙ ↓ ↘ + B+C
-
Scarlet Uppercut (S.Power) – → ↘ ↓ + C
-
Salamander Stream (P.Power) – → ← ↙ ↓ ↘ + C
Blue Mary
-
Special Combo – C (2 hits), C, C
-
Tomi Nage – (próxima) → ou ← + C
-
Achilles Hold – → ↘ ↓ + C (durante Tomi Nage)
-
Step Roller, Combo – ← + B, ↘ + C
-
Heel Follow – → + B
-
Leg Press (pursuit) – ↓ + B
-
Mary’s Spider – (no ar) ↓ ↘ → + C
-
Mary Crab Clutch – ← (segurar), → + B
-
Mary’s Snatcher – → ↓ ↘ + B
-
Mary’s Snatcher Fake – ← + A+C
-
Mary Dodge – ↓ ↙ ← + A
-
Good Night Backbreaker – C (durante Mary Dodge com inimigo próximo)
-
Young Dive – ↓ (segurar), ↑ + C
-
Reverse Kick – ← + B (após Flying Leg Drop)
-
Dangerous Spider – ↓ ↘ → + C (após Flying Leg Drop)
-
Spin Fall – ↓ ↘ → + C (durante Mary’s Escalation)
-
Double Spider (1) – ↓ ↘ → + C (durante Spin Fall)
-
Vertical Arrow – → ↓ ↘ + A (durante Mary’s Escalation)
-
Mary Snatchbreaker (2) – → ↓ ↘ + B (durante Vertical Arrow)
-
Straight Slicer – ← (segurar), → + A (durante Mary’s Escalation)
-
Double Crunch (3) – ← → + B (durante Straight Slicer)
-
Mary Dynamite Swing (pursuit) – ↓ + C (durante 1, 2 ou 3)
-
Mary Double Swing (pursuit) – ↓ + C (durante Mary’s Escalation)
Desperation Move (S.Power):
-
Mary’s Typhoon – → ← ↙ ↓ ↘ + B+C
Potential Power (P.Power):
-
Mary’s Escalation – → ← ↙ ↓ ↘ + C
Bob Wilson
-
Special Combo 1 – C, C, ↑ + C
-
Special Combo 2 – C, C, → + C
-
Special Combo 3 – ↘ + A, ↓ + B, ↓ + C
-
Elephant Tusk – ↘ + A
-
Eagle Step – (pular) ↓ + B
-
Dashing Headbutt – → + C (durante corrida)
-
Flip Leg Drop (pursuit) – ↑ + C (quando o inimigo estiver caído)
-
Flying Fish – C (pressionar rapidamente ao cair)
-
Aerial Throw – ↙ ou ↓ ou ↘ + C (ambos no ar e próximos)
-
Falcon – (próximo) → ou ← + C
-
Hornet Attack – ↘ ↘ + C (após Falcon)
-
Frog Hunting – ← → → + B+C (após Hornet Attack)
-
Rolling Turtle – ↓ ↙ ← + B
-
Sidewinder – ↓ ↙ ← + C
-
Monkey Dance – → ↓ ↘ + B
-
Bison Horns – ↓ (segurar), ↑ + C
-
Wild Wolf – ← (segurar), → + B
-
Frog Hunting (repetido) – ← → → + B+C
Desperation Move (S.Power):
-
Dangerous Wolf – → ← ↙ ↓ ↘ + B+C
-
Dangerous Wolf Fake – ↓ + B+C
Potential Power (P.Power):
-
Dancing Bison – → ← ↙ ↓ ↘ + C
Cheng Sinzan
-
Special Combo – (no plano de fundo) C, C, C, C, ← ← + B
-
Headbutt Hold – (próximo) ↘ + C
-
Line Push Attack – ← + A, D
-
Overhead Punch – → + A
-
Kiten Hinzan (solo) – ↓ ↘ → + A
-
Kiten Hinzan (ar) – → ↓ ↘ + A
-
Avalanche Crunch – ← (segurar), → + B ou C
-
Avalanche Crunch Fake – → + A+C
-
Belly Drum Blast – ↓ (segurar), ↑ + A, pressionar A para flutuar
-
Flexible Geezer – ↓ ↙ ← + B (segurar B para carregar)
-
Fatty Bazooka – ↓ ↙ ← + C
Desperation Move (S.Power):
-
Bursting Heavens Bopper – ↙ (segurar), ↓ → + B+C
Potential Power (P.Power):
-
Collapse of Creation Burst – (no ar) ↙ ← ↖ + C
Duck King
-
Special Combo – ↓ + C (1º acerto), C (3x), ↓ ↘ →, ↗ + B
-
Ground Spin (pursuit) – ↓ + C (com o oponente caído)
-
Air Slam – ↙ ou ↓ ou ↘ + C (próximo e ambos no ar)
-
Slide Kick – ↘ + B
-
Overhead Axe Handle – → + A
-
Head Spin Attack – ↓ ↘ → + A ou C
-
Kick Away Finish – C (durante Head Spin Attack com botão C)
-
Dancing Dive – ↓ ↙ ← + B, (↓ ↘ → + B)
-
Flying Spin Attack – (no ar) ↓ ↙ ← + A
-
Break Storm – → ↓ ↘ + B, depois pressione B repetidamente
-
Cross Head Spin (Plane Shifter) – ↑, ↓ + D (do plano traseiro)
-
Duck Fake Air (1) – (no ar) ↓ ↓
-
Duck Fake Ground – corrida, depois ↘ + C
Desperation Move (S.Power):
-
Break Storm BR – ↙ ← ↖ + B+C (durante Break Storm)
-
Break Spiral – comando de agarrão (SPD) + B+C (próximo)
-
Break Spiral BR – ↙ ← ↖ + B+C (no ar e próximo)
Potential Power (P.Power):
-
Duck Dance – → ← ↙ ↓ ↘ + C, depois pressione C repetidamente
-
Duck Dance Fake – ↓ + B+C
Durante Duck Dance:
-
Air Cannonball (DM#1) – (no ar) ↓ ↙ ← + B+C
-
Cannonball (DM#2) – ↓ ↘ → + B+C
-
Dance Kick (DM#3) – ↓ ↙ ← + B+C
-
Heaven’s Knee (DM#3) – → ↓ ↘ + B+C
- Duck Rave (DM#4) – ← ↙ ↓ ← + C
Franco Bash
-
Wake Up Upper – pressione C ao levantar
-
Barom Punch – B+C
-
Line Push Kick – → + B
-
Zapper – ↓ ↘ → + A
-
Double Kong – ↓ ↙ ← + A
-
Waving Blow – ↓ ↘ → + D
-
Golden Bomber – ↙ (segurar), → + C
-
Guts Dunk – ↓ ↘ →, ↗ + B
-
Guts Dunk Fake – → + A+C
Desperation Move (S.Power):
-
Megaton Scruncher – ← ↙ ↓ ← + B+C
-
Final Omega Blast – → ← ↙ ↓ ↘ + B+C
Potential Power (P.Power):
-
Armageddon Buster – → ← ↙ ↓ ↘ + C
-
Armageddon Buster Fake – ↓ + B+C
Geese Howard
-
Special Combo – ↘ + A, C, ↓ + C
-
Rolling Kick (plane sweep) – ← + B, D ou ↓ + D
-
Low Buzzsaw, Punch, Shinkuu Nage – → + A, C, comando de agarrão (SPD) + A
-
Lift and Slam (pursuit) – ↓ + C (próximo de oponente caído)
-
Clamp of the Tiger – (próximo) ↘ + C
-
Mauling Tiger Crunch (1) – (próximo) → ou ← + C
-
Fatal Blow Bopper – → ↘ ↓ + C (durante Mauling Tiger Crunch)
-
Shinkuu Nage – comando de agarrão (SPD) + A (próximo)
-
Reppu Ken – ↓ ↙ ← + A
-
Reppu Ken Fake – ↓ + A+C
-
Double Reppu Ken – ↓ ↙ ← + C
-
Dragon Throw (especial) – ↙ ← ↖ + B
-
Dragon Throw (normal) – ↙ ← ↖ + C
-
Dragon Throw (sweeps) – ↙ ← ↖ + A
Desperation Move (S.Power):
-
Raging Storm – → ← ↙ ↓ ↘ + B+C
-
Raging Storm Fake – ↓ + B+C
Potential Power (P.Power):
-
Rashoumon – comando de agarrão (SPD) + C (próximo)
-
Deadly Rave – ← ↙ ↓ ← → + A, A, A, B, B, B, C, C, C, ↓ ↙ ← + C
Hon-Fu
-
Special Combo – ↘ + A, C, C
-
Roundhouse Kick – → + B
-
Nunchaku Bop (pursuit) – ↓ + C
-
Uppercut – ↘ + A
-
Buddhist Bopper – (próximo) ↘ + C
-
Kaoloon’s Prediction – ↙ ← ↖ + C
-
Sky of Fire Noogie – → ↓ ↘ + A ou C
-
Sky of Fire Noogie Fake – ← + A+C
-
Heavenly Lightning in the Sky – ↓ ↙ ← + B
-
Fire Stallion – ↓ ↙ ← + A, pressionar A
-
Confident Counterattack – ↓ ↙ ← + C
-
Heavenly Lightning on Earth – ↙ (segurar), → + B, pressionar B
Desperation Move (S.Power):
-
Exploding Goro – ↓ ↙ ← ↙ → + B+C
Potential Power (P.Power):
-
Yoka Tonhanma – ↓ ↙ ← ↙ → + C
Jin Chon Rei
-
Step Kick – → + B
-
Emperor God Bop – → → + A
-
Extended Emperor God Bop – → → → + A
-
Powered Eyes of Emperor Crunch – → ↓ ↘ + C
-
Emperor’s Eye – ↓ ↘ → + A ou C
-
Dragon Transformation – ↓ ↘ → + B (segurar C para alcance)
-
Imperial Disembodied Thrash – ↓ ↙ ← + B
-
Emperor Blast – ↓ ↙ ← → + C
Desperation Move (S.Power):
-
Empire Destiny Blow – → ← ↙ ↓ ↘ + B+C ou pressionar C
-
Empire Destiny Blow Fake – ↓ + B+C
Potential Power (P.Power):
-
Emperor Roar Destroyer – → ← ↙ ↓ ↘ + C
Jin Chon Shu
-
Special Combo – C (1º acerto), C, C, →, ← + C
-
Overhead Attack – → + A
-
Emperor God Bop – → → + A
-
Eyes of the Emperor – ← ↙ ↓ ← + A ou B ou C
-
Empire Heaven Smash – → ↓ ↘ + A ou C
-
Sight of Heaven Whop – ↓ ↘ → + A ou C
-
Dragon’s Light – ↓ ↘ → + B, depois usar Eyes of the Emperor
-
Imperial Exterminator – (no ar) ↓ ↙ ← + B
Desperation Move (S.Power):
-
Emperor Drain – → ← ↙ ↓ ↘ + B+C
-
Emperor Drain Fake – ↓ + B+C
-
Emperor Drain Air – ↓ ↙ ← → + B+C (no ar)
Potential Power (P.Power):
-
Leviathan’s Strain – → ← ↙ ↓ ↘ + C
Joe Higashi
-
Special Combo – B, C, ↓ ↘ → + C
-
Multiple Knees – (próximo) ↘ + C
-
Pursuit Taunt – ↓ + C
-
Slide Kick – ↘ + B
-
Roundhouse Kick – ← + B
-
TNT Punch – A (pressionar rapidamente)
-
TNT Finisher – ↓ ↘ → + A ou C (após TNT Punch)
-
Slash Kick – ↙ → + B ou C
-
Slash Kick Fake – → + A+C
-
Tiger Kick – → ↓ ↘ + B
-
Golden Heel – ↓ ↙ ← + B
-
Hurricane Upper – ↙ ← ↖ + A
-
Hurricane Upper Fake – ↓ + A+C
-
Exploding Hurricane – ↙ ← ↖ + C
Desperation Move (S.Power):
-
Screw Uppercut – → ← ↙ ↓ ↘ + B+C
Potential Power (P.Power):
-
Thunder Fire – → ← ↙ ↓ ↘ + C ou D
Kim Kaphwan
-
Special Combo – A, A, B, C
-
Nericage – → + B
-
Crescent Moon Slash – ↓ ↙ ← + B ou C
-
Ku Sa Zan – ↓ (segurar), ↑ + A, ↓ + A
-
Hien Zan – ↓ (segurar), ↑ + B
-
Hi Sho Kyaku – (no ar) ↓ + B
-
Judgment Kick – ↘ + B (após Hi Sho Kyaku)
-
Hakikyaku – ↓ ↓ + B
Desperation Move (S.Power):
-
Heavenly Phoenix Kick Dance – (no ar) ↓ ↙ ← + B+C
Potential Power (P.Power):
-
Phoenix Flattner – ↓ ↙ ← ↙ → + C
-
Phoenix Flattner Fake – ↓ + B+C
Laurence Blood
-
Special Combo 1 – B+C, C, → ↘ ↓ + C
-
Special Combo 2 – C (1º acerto), C, C
-
Aerial Throw – ↙ ou ↓ ou ↘ + C (próximo e ambos no ar)
-
Line Push Kick – → + B, D ou ↓ + D
-
Bloody Saber – ← (segurar), → + C
-
Bloody Spin – ← ↙ ↓ ← + A ou C
-
Ole Dodge – B+C
-
Bloody Mixer – A (pressionar rapidamente)
-
Bloody Cutter – ↓ (segurar), ↑ + C
Desperation Move (S.Power):
-
Bloody Slash – → ← ↙ ↓ ↘ + B+C
Potential Power (P.Power):
-
Bloody Shadow – → ← ↙ ↓ ↘ + C
Li Xiangfei
-
Ri Mon Chou Chu – → + A
-
??? – ← + B, C
-
Nanpa – ↓ ↘ → + A ou C
-
Zen Chu-oh – ↓ ↘ → + B
-
Kanku – ↓ ↘ → + B (após Zen Chu-oh)
-
Shin Saiha – ↓ ↘ → + B (após Zen Chu-oh)
-
Ten Poh Zan – → ↓ ↘ + B
-
Ten Poh Zan Fake – ← + A+C
-
Counter (High) – (durante ataque) A, depois ↑
-
Counter (Medium) – (durante ataque) A, depois →
-
Counter (Low) – (durante ataque) A, depois ↓
Desperation Move (S.Power):
-
Taitetsujin – → ← ↙ ↓ ↘ + B+C
-
Taitetsujin Fake – ↓ + B+C
-
Chou Pairon – C, → ↙ ← + A+B, → ↙ ← + A+B
Potential Power (P.Power):
-
Majinga – comando de agarrão (SPD) + C (próxima)
Mai Shiranui
-
Wake Up Attack – pressione C ao levantar
-
Aerial Throw – ↙ ou ↓ ou ↘ + C (próxima e ambas no ar)
-
Triangle Jump – (no ar, próximo à parede) pule na direção oposta
-
Line Push Tail – ← + A, D ou ↓ + D
-
Ka Cho Sen – ↓ ↘ → + A
-
Ka Cho Sen Fake – ↓ + A+C
-
Night Bird – ↓ ↙ ← + C
-
Ryu En Bu – ↓ ↙ ← + A
-
Musasabi Mai – (no ar) ↓ + A+B
-
Shinobi Bachi – ↙ ← ↖ + C
-
Triangle Jump – ↗ (na beira da tela)
Desperation Move (S.Power):
-
Cho Shinobi Bachi – → ← ↙ ↓ ↘ + B+C
Potential Power (P.Power):
-
Flower Hurricane – → ← ↙ ↓ ↘ + C (segurar C)
-
Flower Hurricane Fake – ↓ + B+C
Rick Strowd
-
Golpe 1 – → + A
-
Golpe 2 – ↘ + A
-
Golpe 3 – corrida, depois → + C
-
Shooting Star – ↓ ↘ → + A ou C
-
EX. Shooting Star – ↓ ↘ → + C (com S ou P.Power)
-
MAX. Shooting Star – ↓ ↘ → + C (com S ou P.Power e condição especial)
-
Shooting Star Fake – → + A+C
-
Devine Blast – ↓ ↙ ← + C (possível continuação com D)
-
Full Moon Fever – ↓ ↙ ← + B (segurar para continuar esquiva)
-
Golpe Unblockable – ↓ ↙ ← + A
-
Hellion – → ↓ ↘ + A
Desperation Move (S.Power):
-
Gaia Press – → ← ↙ ↓ ↘ + B+C
Potential Power (P.Power):
-
Howling Bull – → ← ↙ ↓ ↘ + C
Ryuji Yamazaki
-
Special Combo – ↘ + A, C, C
-
Short Uppercut – B+C (no ar)
-
Uppercut – ↘ + A
-
Sand Shower Surprise – pressione C ao levantar
-
Triple Stomp (pursuit) – ↓, ↓ + C
-
Overhead Punch, Backhand Combo – → + A, C
-
Snake Tamer (Alta, Média, Baixa) – ↓ ↙ ← + A ou B ou C
-
Multi-directional Snake Tamer – segurar botão por 4 segundos completos
-
Judgment Dagger – → ↓ ↘ + A
-
Judgment Dagger Fake – → + A+C
-
SadoMaso – ↙ ← ↖ + B
-
Double Return – ↓ ↘ → + C (segurar C para refletir, soltar para absorver)
-
Explosion Headbutt – → ← ↓ ↑ + C (próximo)
Desperation Move (S.Power):
-
Guillotine – → ← ↙ ↓ ↘ + B+C
Potential Power (P.Power):
-
Drill – comando de agarrão (SPD) + C (próximo), pressione C para aumentar nível
Drill Levels:
-
Nível 1 – Short Combo – 1 a 4 toques no botão C
-
Nível 2 – Kicks & Stomps – 5 a 8 toques
-
Nível 3 – 10 Headbutts – 9 a 12 toques
-
Nível 4 – 21 Snake Arms – 13+ toques
-
Nível 5 – 8 Double Returns – 13 toques, depois A+B+C
Sokaku Mochizuki
-
Special Combo – C (1º acerto), → + B, → ↓ ↘ + A
-
Lightning Strike (pursuit) – ↓ + C
-
Aerial Throw – ↙ ou ↓ ou ↘ + C (próximo e ambos no ar)
-
No Way Out Crush (1) – (próximo) → ou ← + C
-
Hell’s Gate – → ↘ ↓ + C (durante No Way Out Crush)
-
Pole Uppercut – ↘ + A
-
Wild Monkey Slash – ↓ ↙ ← + A
-
Makibishi Masher – ↓ ↘ → + A
-
Makibishi Masher Fake – ↓ + A+C
-
Possession Blast – → ← → + C
-
Ki Mon Jin – comando de agarrão (SPD) + C (próximo)
-
Dance of Demons – A (pressionar repetidamente)
-
Replica Stick Finisher – → + C, ↘ + C, ↙ + C, ↗ + C ou D (durante Dance of Demons)
-
The Wailer – ← ↙ ↓ ← + B
-
Vortex Inferno (Plane Shifter) – ↑, ↓ + D (a partir do plano traseiro)
Desperation Move (S.Power):
-
Thunder God – → ↘ ↓ ↓ ↘ + B+C
-
Thunder God Fake – ↓ + B+C
Potential Power (P.Power):
-
Sokaku Splat – → ↘ ↓ ↓ ↘ + C
Terry Bogard
-
Special Combo – ↘ + A, C, C
-
Uppercut – ↘ + A
-
Roundhouse Kick (Plane Sweep) – → + B, D ou ↓ + D
-
Overhead Punt – → + C (durante corrida)
-
Power Dunk – ↘ + A, ↗ + B
-
Power Charge – A+B, → + C
-
Burning Knuckles – ↓ ↙ ← + A ou C
-
Burning Knuckles Fake – → + A+C
-
Power Wave – ↓ ↘ → + A
-
Round Wave – ↓ ↘ → + C
-
Crack Shoot – ↓ ↙ ← + B
-
Fire Kick – ↓ ↘ → + B
-
Bashing Sway (Plane Shifter) – ↓ ↘ → + D
-
Rising Tackle – ↓ (segurar), ↑ + A
Desperation Move (S.Power):
-
Power Geyser – ↓ ↙ ← ↙ → + B+C
-
Power Geyser Fake – ↓ + B+C
Potential Power (P.Power):
-
Overheat Geyser – ↓ ↙ ← ↙ → + C
Tung Fu Rue
-
Uppercut – ↘ + A
-
Shou-Ha – ↓ ↘ → + A
-
Shin Shippu – ↓ ↙ ← + A ou C
-
Geki-Ha – ↓ ↘ → + C (segurar para carregar)
-
Thousand Kicks – → ↓ ↘ + B
-
Meditation – C+D, C+D ou repetir
-
Super Shin Shippu – durante Meditação, pressione C
-
Super Thousand Kicks – durante Meditação, pressione B
Desperation Move (S.Power):
-
Senpu Gouken – → ← ↙ ↓ ↘ + B+C
-
Senpu Gouken Fake – ↓ + B+C
Potential Power (P.Power):
-
Super Geki-Ha – → ← ↙ ↓ ↘ + C
Wolfgang Krauser
-
Special Combo – C (1º acerto), C, ↓ ↘ → + C
-
Big Splash – ↓ + C (no ar)
-
Elbow Drop (pursuit) – ↓ + C
-
Overhead Punch – → + A
-
Blitz Ball (High / Low) – ↓ ↙ ← + A ou C
-
Blitz Ball Fake – ↓ + A+C
-
Leg Tomahawk – ↓ ↘ → + B
-
Phoenix Thrust – ↙ ← ↖ + C
-
Scum Gale – (próximo) ↙ ← ↖ + A, depois → → + C
-
Kaiser Claw – → ↓ ↘ + C
-
To the Moon Blow – (próximo) ← ↙ ↓ ← + B
Desperation Move (S.Power):
-
Kaiser Wave – ↙ (segurar), ↗ + B+C
-
Segure B+C para carregar:
-
Nível 1: Onda normal
-
Nível 2: Onda mais forte
-
Nível 3: Onda que atinge o plano
-
-
-
Kaiser Wave Fake – ↓ + B+C
Potential Power (P.Power):
-
Gigatec Cyclone – comando de agarrão (SPD) + C
-
Deadly Rave – ← ↙ ↓ ← → + A, A, B, C, B, C, A, B, C, ↘ ↓ ↙ + A+C
-
ou: ← ↙ ↓ ← → + A, A, B, C, B, C, A, B, C, C
-
Com isso, completamos a nossa lista de golpes de Real Bout Fatal Fury 2.